Puerto Rico Imagery
Default imagery issues
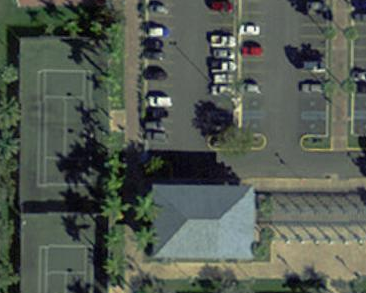
The default imagery provided by the editors iD and JOSM is not the best out there for Puerto Rico. Bing Satellite has a lot of cloud coverage. Mapbox Satellite has fewer cloud coverage but outside the San Juan and Ponce metro areas it doesn't zoom in far enough. Also, maybe most important, those two imagery sources tend to be misaligned.
Recommended imagery for all of Puerto Rico: 2010 USACE Orthophotos
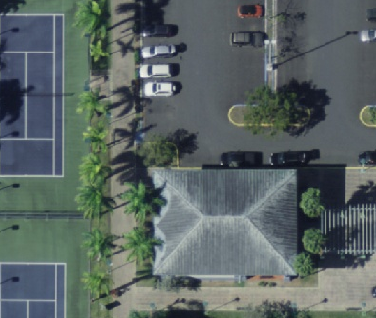
Commissioned by the United States Army Corps of Engineers (USACE) in 2010, these aerial orthoimages are not restricted. Unlike regular satellite imagery, orthoimagery lack distortions caused by terrain relief and other factors. A classic example of this distortion are straight roads erroneously shown as displaced curvy roads on mountainous areas. Another important feature about this imagery is that it's not misaligned, so go ahead and edit anywhere worry-free.
Imagery details:
- Coverage: Puerto Rico, Vieques, Culebra, and Mona Island (only in the WMS version).
- Resolution: 30 cm (1 ft)
- Sharpness: Excellent
- Cloud coverage: about 0% (no clouds)
Adding imagery to iD
Served by Open Street Map US. Enter the iD editor, go to Background settings (shortcut: B), choose Custom and paste the following URL:
http://{switch:a,b,c}.tile.openstreetmap.us/usgs_large_scale/{zoom}/{x}/{y}.jpg
Adding imagery to JOSM
Choose either one:
WMS (Web Map Service)
Served by the Puerto Rico Office of Management and Budget. Shows the same imagery at all zoom levels. Go to Imagery>Imagery Preferences and click the plus sign ("+") to add a new WMS. In this window, paste the following URL in the "Enter Service URL" box:
http://gis.otg.pr.gov/ArcGIS/services/Ortofotos/Orthophoto2009_10_Web_Mercator/MapServer/WMSServer?
TMS (Tiled Map Service)
Served by Open Street Map US. The service is rather slow, and. Go to Imagery>Imagery Preferences and click the plus sign ("+") to add a new TMS. In this window, paste the following URL and set a maximum zoom of 19:
http://{switch:a,b,c}.tile.openstreetmap.us/usgs_large_scale/{zoom}/{x}/{y}.jpg
Recommended imagery for the San Juan Metro Area: 2013 USACE Orthophotos
Commissioned by the United States Army Corps of Engineers (USACE) in 2013, these aerial orthoimages are also not restricted and are not misaligned. Better yet, they have way higher resolution!
Imagery details:
- Coverage: Great portion of the San Juan Metropolitan Area (i.e. part of Bayamón, Cataño, Guaynabo, and San Juan)
- Resolution: 10 cm (3.9 in)
- Sharpness: Excellent
- Cloud coverage: 0% (no clouds!)
Adding imagery to iD & JOSM
Follow the same instructions listed above for the 2010 USACE imagery but use the following URL (add TMS in JOSM, set maximum zoom to 20):
http://imagery-pr-usace-2013.s3-website-us-east-1.amazonaws.com/tiles/{zoom}/{x}/{y}.jpg
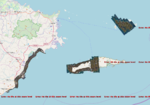
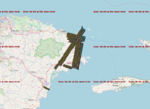
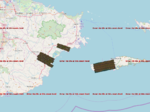
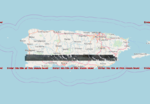
Alternative imagery: 2017 PR/USVI NOAA Hurricane Maria imagery
NOAA provides a WMTS service with the following data subsets. The images are the most recent available, but the amount of WMTS data subsets makes choosing the right one difficult. The resolution is great but the imagery is slightly misaligned.
Alternative imagery: Mapbox Satellite
On April 2016 the Mapbox Satellite layer was updated for the San Juan and Ponce metro areas. This layer contains imagery as recent as January 2015 and is visible at the highest zoom levels. Mapbox Satellite is already provided on iD and JOSM, just select it from the available options.
Aligning imagery
There may be times that you'll want to use Bing or Mapbox imagery because it's more recent than the USACE 2010 imagery. To solve the imagery misalignment issue, use the "New offset" solution in JOSM by doing the following:
- Add Bing or Mapbox imagery in JOSM.
- Add the 2010 Aerial Photography and make it the visible one.
- Zoom to a road intersection near the area you plan to work on.
- Download data in this extent.
- On the road intersection, perfectly align road centerlines.
- Now turn off the 2010 imagery and make Bing or Mapbox imagery the visible one.
- Right click on Bing or Mapbox and choose "New offset".
- Finally, you'll be prompt to align the imagery. You can just drag it by using the road intersection you just worked on as a reference. Then hit OK.
